New
Seamless transaction for your business
Optimize Your Business with
Advanced POS
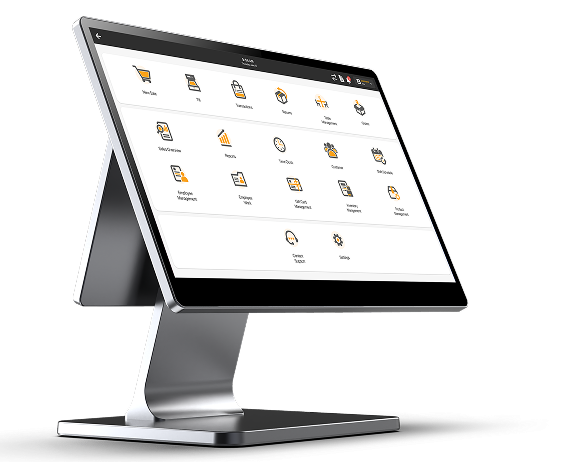
Streamline your operations with a powerful, user-friendly POS system designed to keep your business running smoothly. Gain valuable insights with real-time reporting and analytics, helping you make data-driven decisions with ease. With customizable features tailored to your unique needs, you can optimize efficiency, enhance customer experiences, and scale effortlessly.
New
Seamless transaction for your business
Optimize Your Business with
Advanced POS
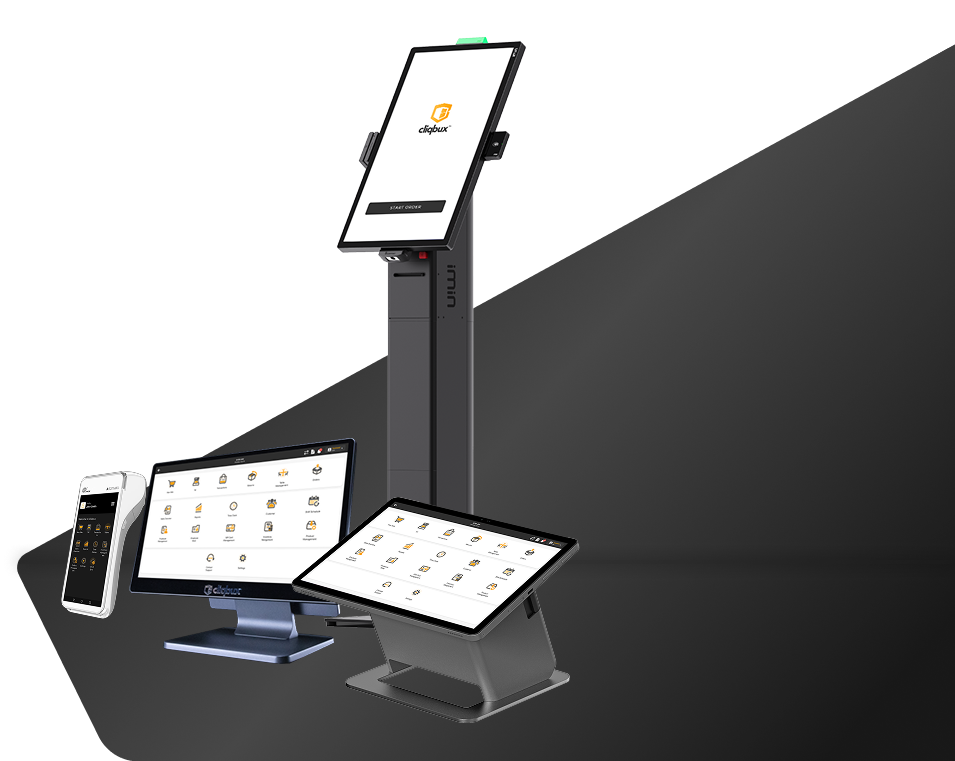


National Brands and Restaurants Trust Cliqbux
National Brands and Restaurants Trust Cliqbux


Empowering stores from day one!
From the moment you open your doors to the celebration of your 500th location, we’re here to support your growth with powerful, intuitive tools designed for success. Our user-friendly interface ensures smooth operations from day one, while in-depth reporting gives you the insights needed to make informed decisions. Every business is unique, which is why we offer customized features tailored to your establishment’s needs—helping you scale with confidence and efficiency.
At every stage of your journey, we’re more than just a POS provider—we’re your partner in growth.
Accessible From Anywhere
Stay connected to your business anytime, anywhere with our cloud-based system, giving you real-time access to sales, reports, and operations from any device. Whether you’re in-store, on the go, or managing multiple locations, control is always at your fingertips.
Offline Mode
Stay connected to your business anytime, anywhere with our cloud-based system, giving you real-time access to sales, reports, and operations from any device. Whether you’re in-store, on the go, or managing multiple locations, control is always at your fingertips.
200+ Integrations
Seamlessly connect your business with over 200 integrations, from accounting and inventory management to marketing and eCommerce solutions. Our extensive integrations ensure you have the tools you need to streamline operations and drive growth—all in one place.
Maximize Efficiency and Drive Growth
Maximize efficiency with intuitive tools that simplify operations, automate tasks, and provide real-time insights. Drive growth with data-driven decisions, seamless integrations, and a scalable system designed to evolve with your business.
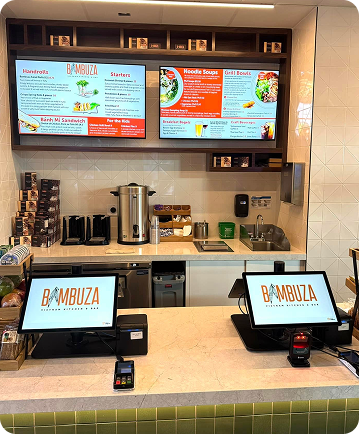
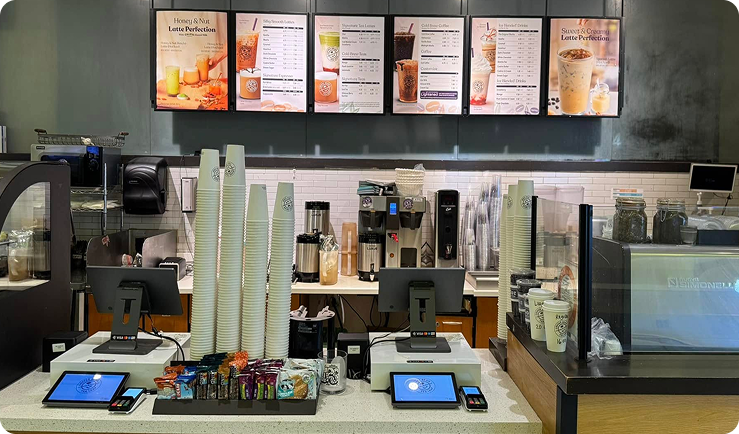
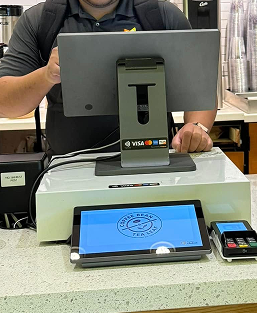
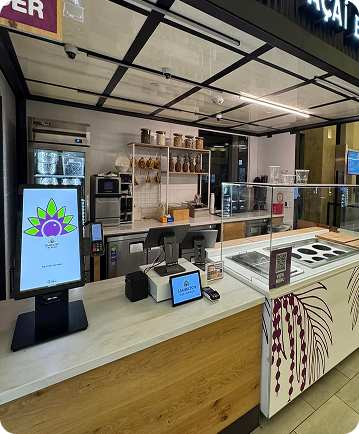
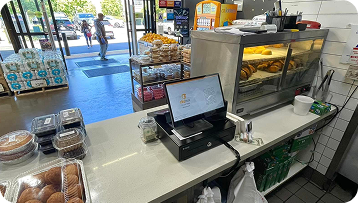
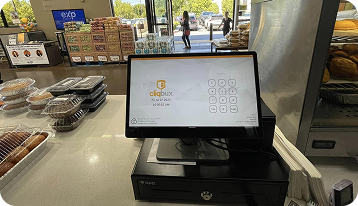

Streamline Sales, Simplify Success
Empowering retail businesses with innovative solutions to streamline operations, enhance customer experiences, and drive growth. With powerful tools and seamless integrations, we help businesses thrive in today’s fast-paced digital landscape.


