POS No internet Connection
POS No internet Connection 📝 Troubleshooting: POS No Internet Connection ✅ Option 1: Self-Test with Network Details Identify the Connection Type Check if the POS
POS is FREEZING
POS is FREEZING 📝 Troubleshooting: POS is Freezing Restart the Application Close the POS app completely and reopen it. Restart the POS Device Perform a
Paper is printing but no text showing on Receipt
Paper is printing but no text showing on Receipt ✅ 1. Wrong Side of Thermal Paper Most common issue. Fix: Open the printer and flip
How to show Bluetooth MAC Address
How to show IP Address 🖨️ EPSON Printers (e.g., TM-m30, TM-T88V, TM-m30II-B) ✅ Method 1: Self-Test Print (Bluetooth MAC Included) Power ON the printer. Hold
How to show IP Address
How to show IP Address 🖨️ EPSON (e.g., TM-T88V, TM-T20II Ethernet) ✅ Option 1: Self-Test with Network Details Turn off the printer. Hold down the
Printer not Printing
Printer not Printing 🖨️ General Steps (Applicable to Epson & Zywell) ✅ 1. Check Power and Status Lights Make sure the printer is powered on
Printer not turning On
Printer not turning On ✅ Step 1: Check Power Connection Ensure the power cable is firmly plugged into both the printer and wall socket. If
Socket Brand
Socket Brand 🔄 Option 1: Soft Reset (Reboot Only) This clears temporary glitches but doesn’t remove pairings. ✅ Steps: Press and hold the Power button
NMI Not Accepting Payments
NMI Not Accepting Payments Here’s how to reset (reboot) your NMI/BBPOS Chipper or 2X BT card reader 🔁 1. Soft (Power Button) Reset Hold down
Disconnected / Not Connected to POS
Disconnected / Not Connected to POS Here’s how to reset (reboot) your NMI/BBPOS Chipper or 2X BT card reader: 🔁 1. Soft (Power Button) Reset
How to show IP address on Pax (Ethernet)
How to show IP address on Pax (Ethernet) 🔧 Method 1: Using the Hidden Corners (Diagnostic Menu) 💡 Works on: A920, A80, A35, and many
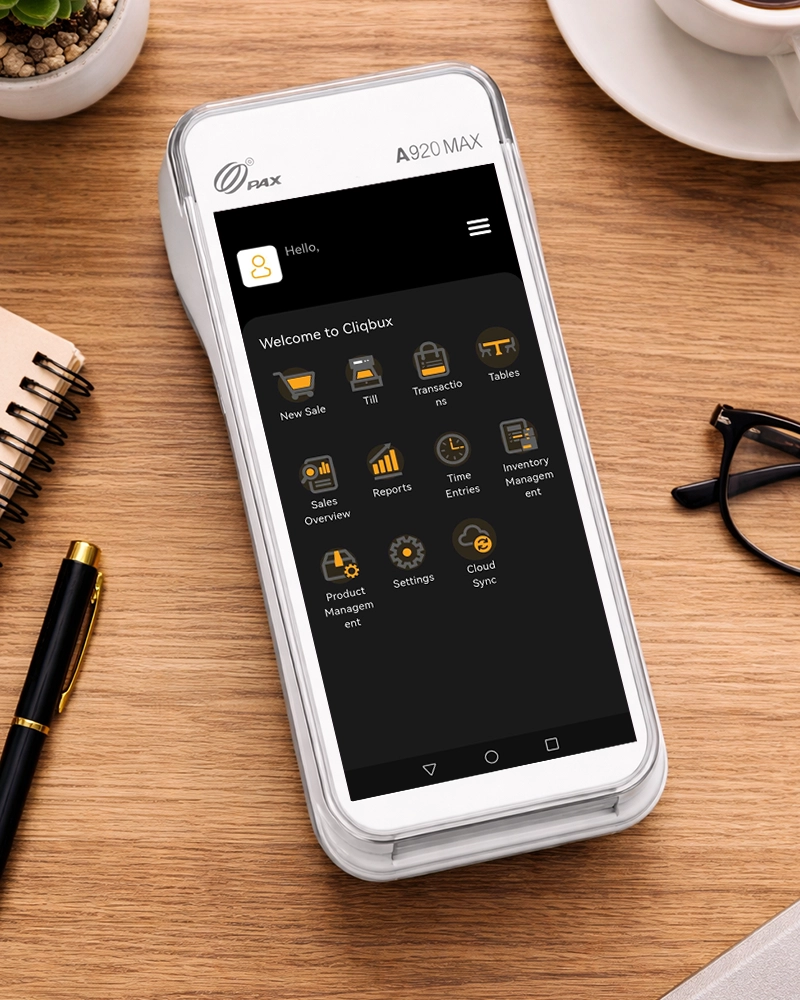
Part of Pax Terminal
Part of Pax Terminal PAX A920 PAX A35 Pax Cord Long thick cord. Plug this cord into the back of the PAX device. Short cord